How to Install Direct - Burial Electrical Cables
As an electrical cable supplier, I've witnessed firsthand the growing demand for reliable and efficient electrical solutions, especially when it comes to direct - burial electrical cables. These cables are designed to be buried directly in the ground without the need for conduit, offering a cost - effective and practical option for various outdoor electrical applications. In this blog, I'll guide you through the process of installing direct - burial electrical cables, ensuring a safe and successful installation.
Understanding Direct - Burial Cables
Before we start the installation process, it's crucial to understand what direct - burial cables are and their specifications. Direct - burial cables are specially engineered to withstand the harsh underground environment. They are typically constructed with a durable outer jacket that protects the inner conductors from moisture, abrasion, and chemical damage.
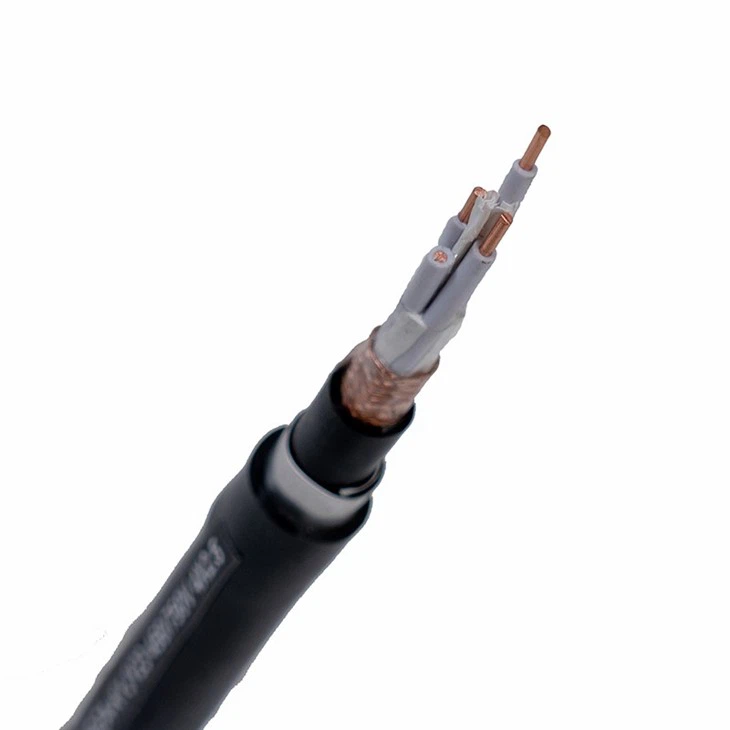

There are different types of direct - burial cables available in the market, each designed for specific applications. For instance, Hookup Wire 450V Cable is often used for low - voltage applications, while Fire Resistant Control Wire is ideal for control systems where fire safety is a concern. The 4 Core Cy Cable is suitable for multi - circuit control applications.
Planning the Installation
- Determine the Cable Route
- The first step in installing direct - burial cables is to plan the cable route. You need to identify the starting and ending points of the cable run. Consider any obstacles such as trees, rocks, or existing underground utilities. It's essential to use a utility locator to mark the location of other underground services like water, gas, and telecommunications lines to avoid any potential damage during the installation process.
- Calculate the Cable Length
- Measure the distance between the starting and ending points of the cable route accurately. Add some extra length (usually about 10 - 15%) to account for any bends, connections, or future adjustments. This ensures that you have enough cable to complete the installation without running short.
- Select the Appropriate Cable
- Based on your electrical requirements, select the right type and size of direct - burial cable. Consider factors such as the voltage, amperage, and the number of conductors needed for your application. Refer to the National Electrical Code (NEC) or local electrical codes to ensure compliance with safety standards.
Preparing the Trench
- Digging the Trench
- The depth of the trench for direct - burial cables depends on the type of cable and local electrical codes. In general, for residential applications, the trench should be at least 24 inches deep. Use a trencher or a shovel to dig the trench. Make sure the trench is straight and has a flat bottom to prevent the cable from being damaged.
- Adding a Bedding Layer
- Once the trench is dug, add a layer of sand or crushed stone at the bottom of the trench. This bedding layer helps to protect the cable from sharp objects and provides a stable base for the cable. The bedding layer should be about 2 - 3 inches thick.
Installing the Cable
- Unreeling the Cable
- Carefully unreel the direct - burial cable into the trench. Avoid kinking or twisting the cable during the unreeling process. Make sure the cable is laid straight in the trench and is not in contact with any sharp edges or objects.
- Making Connections
- If you need to make connections along the cable route, use appropriate cable connectors and splices. Follow the manufacturer's instructions for making the connections. Seal the connections with waterproof tape or heat - shrink tubing to prevent moisture from entering the cable.
- Testing the Cable
- Before covering the cable, test the cable for continuity and insulation resistance. Use a multimeter or a cable tester to perform these tests. This ensures that the cable is functioning properly and there are no faults in the installation.
Covering the Cable
- Adding a Protective Layer
- After testing the cable, add another layer of sand or crushed stone on top of the cable. This protective layer helps to cushion the cable and prevent damage from the backfill material. The protective layer should be about 2 - 3 inches thick.
- Backfilling the Trench
- Once the protective layer is in place, backfill the trench with soil. Compact the soil gently as you backfill to prevent settling. Avoid using large rocks or debris in the backfill material as they can damage the cable.
Post - Installation Checks
- Marking the Cable Route
- Mark the cable route on the surface with cable markers or stakes. This helps to identify the location of the cable in case of future maintenance or repairs.
- Final Testing
- After the trench is backfilled, perform a final test on the cable to ensure that it is still functioning properly. This may involve testing the electrical load and checking for any signs of leakage.
Contact for Purchase and Consultation
If you're in the market for high - quality direct - burial electrical cables or need further advice on cable installation, we're here to help. As a leading electrical cable supplier, we offer a wide range of direct - burial cables to meet your specific needs. Whether you're working on a residential, commercial, or industrial project, our team of experts can assist you in selecting the right cable and provide guidance on the installation process. Reach out to us for more information and to start a purchase discussion.
References
- National Electrical Code (NEC)
- Manufacturer's installation guides for direct - burial cables
- Local electrical codes and regulations


