Hey there! If you're looking to install household insulated wire in your basement, you've come to the right place. I'm a supplier of all kinds of household insulated wires, and I'm here to share some tips and tricks to make your installation process a breeze.
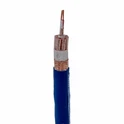
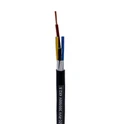
First things first, let's talk about the types of wires you might need. There are several options out there, and the choice depends on your specific requirements. One popular option is the 300/500V PVC Insulated Cable. This cable is known for its durability and resistance to various environmental factors. It's a great choice for basements, as it can handle the damp and cool conditions often found in these areas.

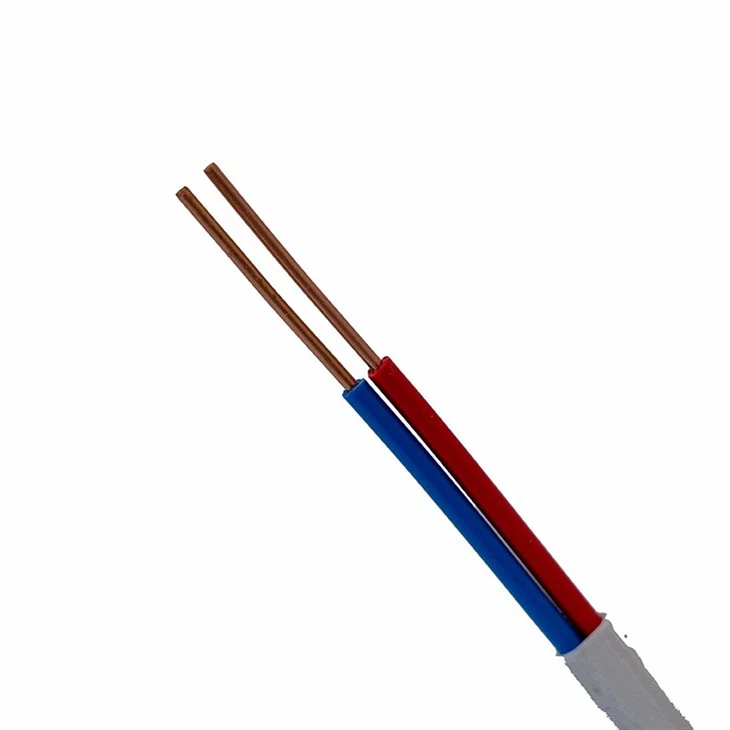
Another common choice is the Common House Wire. As the name suggests, it's a widely used wire for general household electrical installations. It's relatively easy to work with and is suitable for most basement wiring needs.
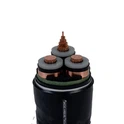
If you're looking for something with better insulation properties, the Copper Core Polyethylene Insulated Cable might be the way to go. The copper core provides good conductivity, and the polyethylene insulation offers excellent protection against electrical interference and moisture.
Now that you have an idea of the types of wires available, let's move on to the installation process.
Planning Your Installation
Before you start cutting and splicing wires, it's crucial to have a clear plan. First, determine what electrical devices you'll be powering in the basement. This could include lights, outlets, a refrigerator, or a home office setup. Make a list of all the devices and their power requirements.
Next, figure out where you want to place these devices. Mark the locations on the basement walls and floor. This will help you determine the length of wire you'll need and the best routes for running the wires.
Gathering Tools and Materials
Once you have a plan, it's time to gather the necessary tools and materials. Here's a list of what you'll likely need:
- Wire: Choose the appropriate type and gauge of wire based on your power requirements.
- Wire Strippers: These are used to remove the insulation from the ends of the wires.
- Electrical Tape: To insulate the connections between wires.
- Screwdrivers: For installing electrical boxes and outlets.
- Drill and Bits: If you need to make holes in the walls or floor for running the wires.
- Fish Tape: This helps you pull the wires through walls and conduits.
- Electrical Boxes: To house the outlets and switches.
Running the Wires
Now comes the fun part - running the wires. Start by running the main power line from the breaker box to the basement. Make sure to follow all local electrical codes and safety regulations.
When running the wires through the walls, use a fish tape to guide them. Be careful not to damage the wires as you pull them through. If you're running the wires through conduits, make sure the conduits are properly installed and secured.
Making Connections
Once the wires are in place, it's time to make the connections. Use wire strippers to remove about 3/4 inch of insulation from the ends of the wires. Then, twist the bare wires together and secure them with wire nuts. Make sure the connections are tight and there are no loose strands of wire.
After making the connections, cover them with electrical tape for added insulation.
Installing Outlets and Switches
Now that the wires are connected, it's time to install the outlets and switches. Mount the electrical boxes on the walls at the marked locations. Then, connect the wires to the outlets and switches according to the manufacturer's instructions.
Make sure to test the outlets and switches to ensure they're working properly before covering them with outlet covers.
Safety First
Throughout the installation process, safety should be your top priority. Always turn off the power at the breaker box before working on the electrical system. Use insulated tools to avoid electrical shocks. And if you're not comfortable working with electricity, it's best to hire a professional electrician.
Troubleshooting
If you encounter any problems during the installation process, don't panic. Here are some common issues and how to fix them:
- No Power: Check the breaker box to make sure the circuit breaker hasn't tripped. If it has, reset it. If the problem persists, there may be a loose connection or a damaged wire.
- Flickering Lights: This could be due to a loose connection or a problem with the light fixture. Check the connections and replace the light bulb if necessary.
- Electrical Shocks: If you feel an electrical shock when touching an outlet or switch, turn off the power immediately and call a professional electrician.
Conclusion
Installing household insulated wire in a basement can be a challenging but rewarding project. By following these tips and taking the necessary safety precautions, you can ensure a successful installation.
If you're in the market for high-quality household insulated wire, look no further. As a leading supplier, we offer a wide range of wires to meet your needs. Whether you need 300/500V PVC Insulated Cable, Common House Wire, or Copper Core Polyethylene Insulated Cable, we've got you covered.
If you have any questions or need help with your wiring project, don't hesitate to reach out. We're here to assist you every step of the way. Contact us today to discuss your requirements and get a quote.
References
- National Electrical Code (NEC)
- Electrical Installation Manuals
- Manufacturer's Instructions for Wires, Outlets, and Switches