Installing electrical wire in a wall might seem like a daunting task, but with the right guidance and tools, it can be a manageable DIY project. As an electrical wire supplier, I've seen firsthand the importance of proper installation for both safety and functionality. In this blog, I'll walk you through the step-by-step process of installing electrical wire in a wall, from planning to the final connection.
Planning Your Installation
Before you start cutting into your walls, it's crucial to have a clear plan in place. First, determine the locations where you need to install the electrical wire. This could be for outlets, switches, or lighting fixtures. Measure the distance between these points to estimate the amount of wire you'll need.
It's also important to check local building codes and regulations. These codes ensure that your electrical installation is safe and up to standard. You may need to obtain a permit before starting the project, so make sure to do your research and follow the proper procedures.
Gathering Your Materials
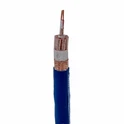
Once you have a plan, it's time to gather the necessary materials. As an electrical wire supplier, I recommend using high-quality wires for your installation. For general household use, you might consider Hookup Wire 240 Volt Wire. This type of wire is suitable for a variety of applications and can handle the electrical load of most household appliances.
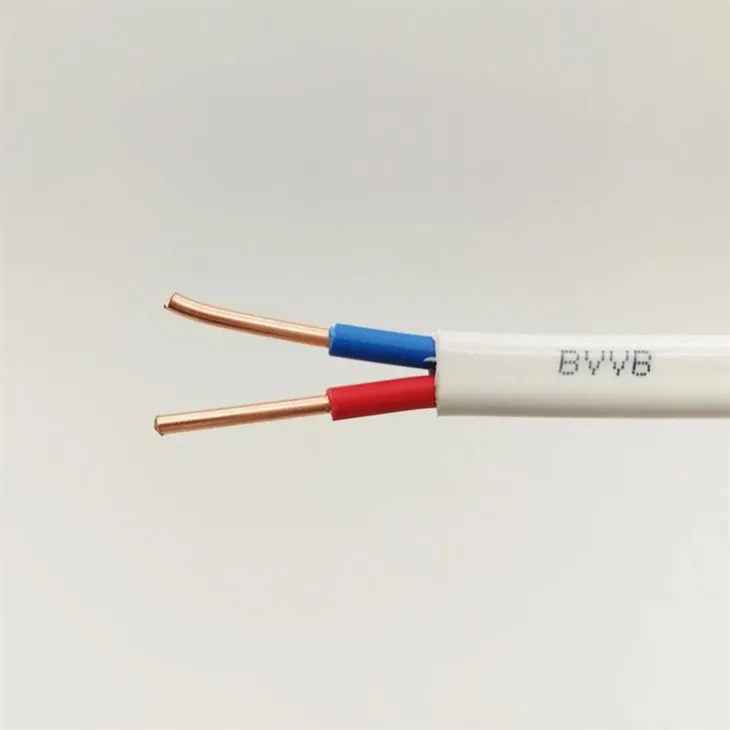
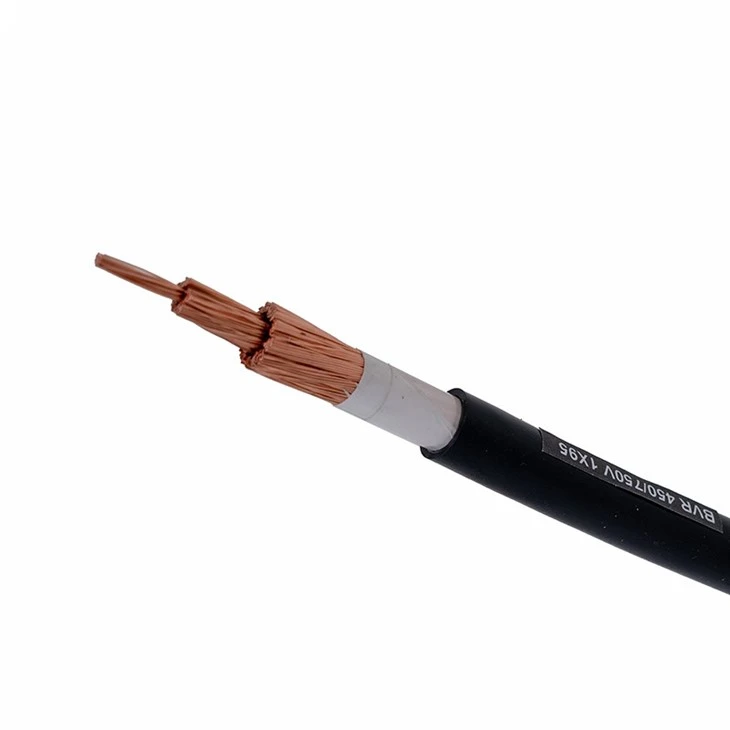
You'll also need electrical boxes, conduit (if required), wire connectors, and tools such as a drill, wire strippers, and a voltage tester. Make sure to have all the materials on hand before you start the installation to avoid any delays.
Preparing the Wall
Before you can install the wire, you'll need to prepare the wall. Start by marking the locations of the electrical boxes on the wall. Use a stud finder to locate the wall studs and mark them as well. This will help you determine where to drill holes for the wire and where to attach the electrical boxes.
Once you've marked the locations, use a drywall saw to cut out the holes for the electrical boxes. Make sure the holes are the right size for the boxes and that they are level. You can use a level to ensure the boxes are installed straight.
Running the Wire
Now it's time to run the wire through the wall. Start by pulling the wire through the holes you've drilled in the wall. You can use a fish tape to help guide the wire through the wall cavities. Make sure to leave enough slack at each end of the wire for connecting to the electrical boxes.
As you run the wire, make sure to secure it to the wall studs using wire staples. This will prevent the wire from moving around and causing a short circuit. Make sure to leave a small loop of wire at each electrical box to make it easier to connect the wire later.
Connecting the Wire
Once the wire is in place, it's time to connect it to the electrical boxes. Start by stripping the insulation from the ends of the wire using wire strippers. Make sure to strip the right amount of insulation to expose the bare wire.
Next, connect the wire to the electrical box using wire connectors. Make sure to follow the manufacturer's instructions for the wire connectors and use the right size for the wire. Tighten the connectors securely to ensure a good connection.
Testing the Installation
Before you close up the wall, it's important to test the electrical installation to make sure it's working properly. Use a voltage tester to check for voltage at each electrical box. Make sure to turn off the power before testing to avoid any electrical shocks.
If everything is working properly, you can close up the wall by installing drywall or other wall covering. Make sure to patch any holes or seams and paint the wall to match the rest of the room.
Choosing the Right Wire for Your Project
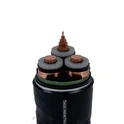
As an electrical wire supplier, I know that choosing the right wire for your project is crucial. For underground electrical installations, I recommend Underground Electrical Wire for 100 Amp Service. This type of wire is designed to withstand the harsh conditions of underground installation and can handle the electrical load of a 100 amp service.
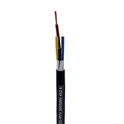
For household wiring, Copper Core Polyethylene Insulated Cable is a popular choice. This type of wire is durable, flexible, and provides good electrical conductivity.
Conclusion
Installing electrical wire in a wall can be a challenging but rewarding project. By following the steps outlined in this blog and using high-quality materials, you can ensure a safe and successful installation. If you have any questions or need help with your electrical installation, don't hesitate to contact me. As an electrical wire supplier, I'm here to provide you with the products and support you need.
If you're interested in purchasing electrical wire for your project, feel free to reach out to me for more information. I can help you choose the right wire for your needs and provide you with a competitive quote. Let's work together to make your electrical installation a success!
References
- National Electrical Code (NEC)
- Local building codes and regulations
- Manufacturer's instructions for electrical wire and components