Installing household wire in an RV can be a rewarding DIY project that allows you to customize your vehicle's electrical system according to your needs. As a household wire supplier, I've seen firsthand the importance of proper wiring in ensuring a safe and functional electrical setup. In this blog post, I'll guide you through the process of installing household wire in an RV, from planning to the final connections.
Planning Your RV Wiring System
Before you start installing any wire, it's crucial to have a clear plan in place. Consider the electrical appliances and devices you want to use in your RV, such as lights, fans, refrigerators, and chargers. Calculate the total power consumption of these devices to determine the appropriate wire size and circuit breaker ratings.
- Determine Your Power Needs: Make a list of all the electrical devices you plan to use in your RV and note their power ratings in watts. Add up the power ratings to get the total power consumption. This will help you determine the size of the main electrical panel and the number of circuits you need.
- Choose the Right Wire: Selecting the right wire is essential for a safe and efficient electrical system. The wire size is determined by the amount of current it can carry without overheating. For most RV applications, 12-gauge or 14-gauge wire is sufficient. However, if you're using high-power appliances, such as air conditioners or microwaves, you may need to use a larger wire size. You can find a variety of wires suitable for RV use on our website, including 3 Core Household Wire and Copper Core Polyethylene Insulated Cable.
- Plan Your Circuit Layout: Divide your electrical system into circuits based on the type of devices and their power requirements. For example, you can have separate circuits for lights, outlets, and appliances. This will help prevent overloading and make it easier to troubleshoot any electrical problems.
Gathering the Necessary Tools and Materials
Once you have a plan in place, it's time to gather the tools and materials you'll need for the installation. Here's a list of the essential items:
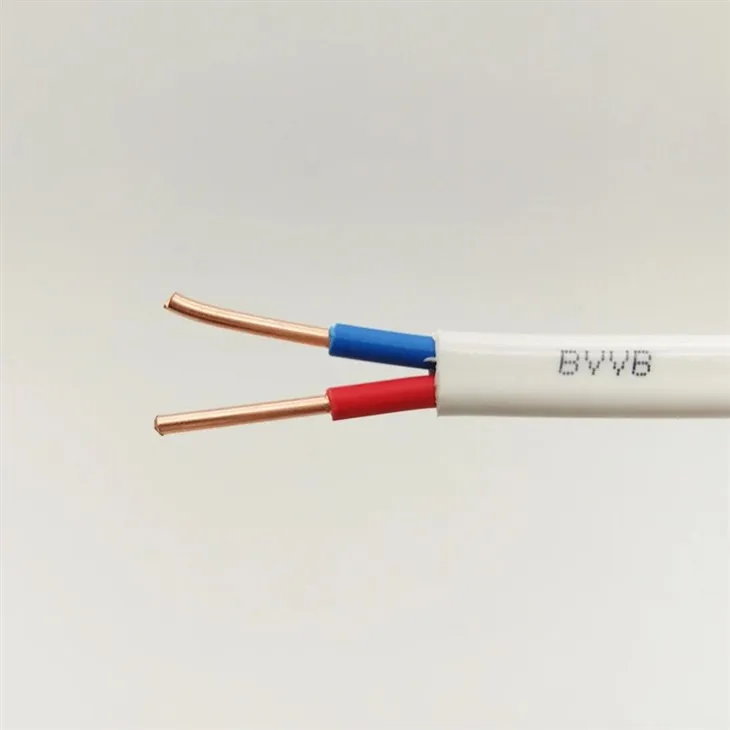
- Wire: Choose the appropriate wire size and type for your RV's electrical system. You can find a wide selection of wires on our website, including Common House Wire.
- Electrical Boxes: Use electrical boxes to protect wire connections and provide a safe housing for switches and outlets.
- Circuit Breakers: Circuit breakers are essential for protecting your electrical system from overloading and short circuits. Choose the appropriate circuit breaker ratings based on the wire size and the power requirements of your circuits.
- Tools: You'll need a variety of tools for the installation, including wire strippers, pliers, screwdrivers, a drill, and a fish tape.
Installing the Electrical Panel
The electrical panel is the heart of your RV's electrical system. It distributes power from the battery or shore power source to the various circuits in your RV. Here's how to install the electrical panel:

- Choose a Location: Select a suitable location for the electrical panel that is easily accessible and away from moisture and heat sources.
- Mount the Panel: Use screws or brackets to mount the electrical panel securely to the wall or floor of your RV.
- Connect the Wires: Connect the main power wires from the battery or shore power source to the main breaker in the electrical panel. Then, connect the individual circuit wires to the appropriate circuit breakers.
Running the Wire
Running the wire is one of the most time-consuming parts of the installation process. Here are some tips to help you run the wire safely and efficiently:
- Use a Fish Tape: A fish tape is a flexible tool that can be used to pull wire through walls, ceilings, and floors. It makes it easier to route the wire in tight spaces.
- Secure the Wire: Use cable ties or staples to secure the wire along the walls and floors of your RV. Make sure the wire is not pinched or damaged.
- Avoid Sharp Edges: When running the wire, avoid sharp edges and corners that could damage the insulation. Use wire protectors or conduit to protect the wire in these areas.
Making the Connections
Once the wire is run, it's time to make the connections. Here's how to make the connections safely:
- Strip the Wire: Use wire strippers to remove the insulation from the ends of the wire. Make sure to strip the wire to the appropriate length for the connection.
- Connect the Wires: Use wire nuts or crimp connectors to connect the wires together. Make sure the connections are tight and secure.
- Test the Connections: Use a multimeter to test the connections for continuity and proper voltage. This will help ensure that the electrical system is working properly.
Testing the Electrical System
After the installation is complete, it's important to test the electrical system to make sure it's working properly. Here's how to test the electrical system:
- Check the Circuit Breakers: Make sure all the circuit breakers are in the "on" position.
- Test the Outlets and Switches: Use a voltage tester to test the outlets and switches for proper voltage. Make sure all the outlets and switches are working properly.
- Check the Lights: Turn on all the lights in your RV and make sure they are working properly.
Conclusion
Installing household wire in an RV can be a challenging but rewarding project. By following these steps and using the right tools and materials, you can install a safe and functional electrical system in your RV. If you have any questions or need further assistance, please don't hesitate to contact us. We're here to help you with all your household wire needs. Whether you're a DIY enthusiast or a professional installer, we have the products and expertise to meet your requirements. Contact us today to discuss your project and explore our range of high-quality household wires.
References
- National Electrical Code (NEC)
- RV Electrical Systems: A Comprehensive Guide