Hey there! As an outdoor electrical cable supplier, I've seen firsthand how a well - lit pergola can transform an outdoor space. It not only extends the usability of your pergola into the evening but also adds a touch of magic to your outdoor gatherings. In this blog, I'm gonna walk you through the steps of installing outdoor electrical cables on a pergola.
Step 1: Plan Your Lighting Layout
Before you start digging out those cables, you need to have a clear idea of where you want your lights to go. Walk around your pergola and visualize how you want it to look when it's all lit up. Do you want string lights along the rafters? Maybe some spotlights to highlight certain areas? Or perhaps pendant lights for a more cozy feel?
Sketch out your plan on a piece of paper. Mark the locations where you'll place the lights, switches, and outlets. This will help you determine how much cable you'll need and where to run it. Also, think about the power source. You can connect to an existing outdoor outlet or install a new one if needed.
Step 2: Choose the Right Cable
Picking the right cable is crucial for a safe and long - lasting installation. When it comes to outdoor use, you need cables that can withstand the elements. That's where our Xlpe Insulation Outdoor Cable comes in handy. XLPE insulation provides excellent resistance to heat, moisture, and abrasion, making it perfect for outdoor applications.
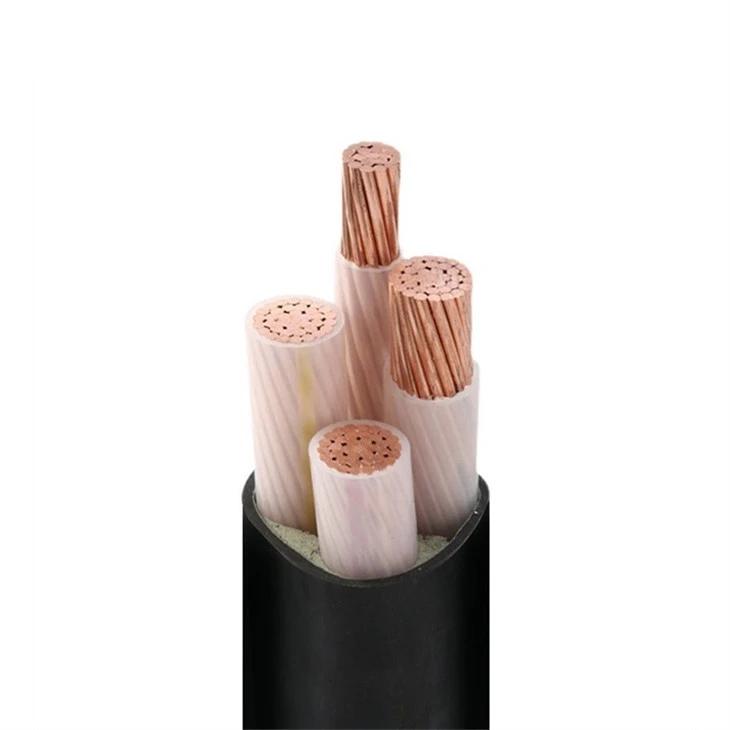
If you're in an area with a lot of rain or humidity, our Waterproof Outdoor Electrical Cable is a great option. It's designed to keep water out and prevent short - circuits. And for larger power requirements, our 120mm Xlpe Cable can handle the load without a problem.
Step 3: Gather Your Tools
Once you've got your cable and your plan, it's time to gather the necessary tools. You'll need a few basic items like a drill, screwdriver, wire cutters, cable staples, and a voltage tester. A drill will be used to make holes in the pergola for the cable to pass through, and the screwdriver will help you install any fixtures or outlets.
Wire cutters are essential for cutting the cable to the right length, and cable staples will hold the cable in place along the pergola. The voltage tester is a must - have for safety. It allows you to check if the power is off before you start working on the cables.
Step 4: Turn Off the Power
Safety first! Before you start any electrical work, you need to turn off the power at the main breaker. This will prevent any accidental shocks or short - circuits. Use your voltage tester to double - check that the power is indeed off. You don't want to be working on live wires, trust me.
Step 5: Run the Cable
Now comes the fun part – running the cable. Start at the power source and work your way towards the lights. Use your drill to make holes in the pergola where the cable needs to pass through. Make sure the holes are big enough for the cable to fit through easily but not so big that it will move around too much.
Once you've made the holes, thread the cable through them. Use cable staples to secure the cable along the pergola. Keep the cable as straight as possible and avoid sharp bends or kinks, as these can damage the cable over time.
Step 6: Install the Lights and Outlets
After the cable is in place, it's time to install the lights and outlets. Follow the manufacturer's instructions for each fixture. Usually, you'll need to connect the wires from the fixture to the cable using wire nuts. Make sure the connections are tight and secure.
If you're installing an outlet, mount it on the pergola and connect the cables to the appropriate terminals. Use a voltage tester to check that the outlet is working properly before you plug anything in.
Step 7: Test the System
Once everything is installed, it's time to test the system. Turn the power back on at the main breaker and flip the switch to turn on the lights. Check that all the lights are working and that there are no flickering or dimming issues.
Use your voltage tester to check the voltage at the outlets and make sure it's within the safe range. If you notice any problems, turn off the power again and double - check your connections.
Step 8: Secure and Protect the Cable
To ensure the longevity of your installation, you need to secure and protect the cable. Use additional cable staples if needed to keep the cable firmly in place. You can also use cable covers or conduit to protect the cable from physical damage and UV rays.
Cable covers are a great option as they are easy to install and come in different colors to match your pergola. Conduit, on the other hand, provides more protection but may be a bit more difficult to install.
Step 9: Regular Maintenance
Even after a successful installation, regular maintenance is important. Check the cables and fixtures periodically for any signs of damage or wear. Look for frayed wires, loose connections, or water damage.
If you notice any problems, replace the damaged parts immediately. Also, make sure to keep the area around the cables clean and free of debris, as this can cause overheating and other issues.
Conclusion
Installing outdoor electrical cables on a pergola may seem like a daunting task, but with the right plan, the right cable, and the right tools, it's definitely doable. By following these steps, you can create a beautiful and functional outdoor lighting system that will enhance your pergola for years to come.
If you're interested in purchasing high - quality outdoor electrical cables for your project, we're here to help. We offer a wide range of cables to suit your needs, and our team of experts can provide you with advice and support. Whether you're a DIY enthusiast or a professional contractor, we've got you covered. So, don't hesitate to get in touch with us for more information and to discuss your specific requirements. Let's make your pergola shine!

References
- General knowledge of electrical installation techniques
- Manufacturer's instructions for outdoor electrical cables and fixtures