Hey there! As a control wire supplier, I've dealt with all sorts of questions about control wires, and one that comes up a lot is how to terminate a control wire. It might seem like a small detail, but proper termination is super important for the performance and safety of your electrical systems. So, let's dive right in and explore the ins and outs of terminating control wires.
First off, you need to understand what control wires are used for. Control wires are like the nervous system of an electrical setup. They're responsible for carrying signals that control various functions, from turning on a light to operating complex machinery. There are different types of control wires out there, such as Fire Resistant Control Wire, PVC Insulated Control Cable, and PVC Lighting Control Cable. Each type has its own unique properties and is designed for specific applications.
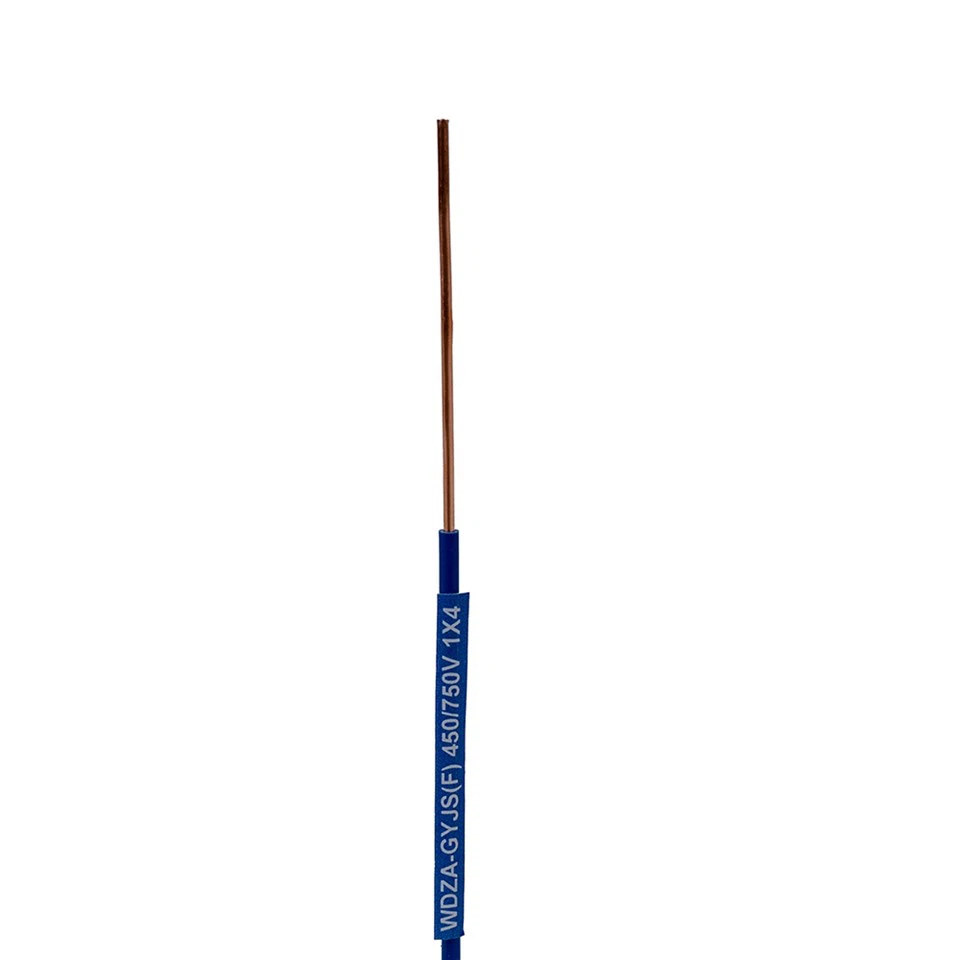
Now, let's get to the termination process. The first step is to gather the right tools. You'll need a good pair of wire strippers, crimping tools, and maybe some heat shrink tubing. Wire strippers are used to remove the insulation from the end of the wire, exposing the conductive metal inside. Make sure to choose the right size of wire strippers for your control wire. If the strippers are too big, you might damage the wire; if they're too small, you won't be able to remove the insulation properly.
Once you've stripped the wire, it's time to prepare the termination. There are a few different methods you can use, depending on the type of connection you need. One common method is crimping. Crimping involves using a crimping tool to attach a connector to the end of the wire. The connector can be a terminal block, a plug, or a socket. To crimp a connector onto the wire, you first insert the stripped end of the wire into the connector. Then, you use the crimping tool to squeeze the connector tightly around the wire. This creates a secure electrical connection.
Another method is soldering. Soldering is a bit more involved than crimping, but it can provide a stronger and more reliable connection. To solder a wire, you first apply some flux to the stripped end of the wire and the connector. Flux helps the solder flow and adhere to the metal. Then, you heat the wire and the connector with a soldering iron and apply the solder. The solder melts and flows around the wire and the connector, creating a solid bond.
Heat shrink tubing is often used to provide additional insulation and protection for the terminated wire. After you've crimped or soldered the connector onto the wire, you slide a piece of heat shrink tubing over the connection. Then, you use a heat gun to shrink the tubing. The tubing shrinks tightly around the connection, sealing it and protecting it from moisture, dirt, and other contaminants.

When terminating control wires, it's important to follow some safety precautions. Always make sure the power is turned off before you start working on the wires. This will prevent you from getting shocked. Also, wear appropriate safety gear, such as gloves and safety glasses. And make sure you're working in a well-ventilated area, especially if you're soldering.
Proper labeling is also crucial when terminating control wires. Labeling helps you keep track of which wire is connected to which component. This can make troubleshooting and maintenance a lot easier down the road. You can use labels, tags, or even colored tape to mark the wires.
Now, let's talk about some common mistakes to avoid when terminating control wires. One of the biggest mistakes is not stripping the wire properly. If you don't remove enough insulation, the connection might not be secure. If you remove too much insulation, you might expose the wire to damage or short circuits. Another mistake is not crimping or soldering the connector properly. A loose or poorly made connection can cause electrical problems, such as intermittent signals or high resistance.
It's also important to make sure the termination is clean and free of debris. Any dirt, grease, or other contaminants on the wire or the connector can interfere with the electrical connection. Before you crimp or solder the connector, make sure to clean the wire and the connector with a clean cloth or some rubbing alcohol.
In addition to the termination process itself, it's important to consider the overall installation of the control wires. Make sure the wires are routed properly and are not pinched or damaged. Avoid running the wires near sources of heat, moisture, or electromagnetic interference. And make sure the wires are secured properly to prevent them from moving or vibrating.
Finally, if you're not sure how to terminate a control wire or if you're dealing with a complex installation, it's always a good idea to consult a professional. A professional electrician or technician can help you ensure that the termination is done correctly and safely.
Well, that's about it for terminating control wires. I hope this blog post has been helpful. If you're in the market for control wires, we've got a wide range of options available, including Fire Resistant Control Wire, PVC Insulated Control Cable, and PVC Lighting Control Cable. If you have any questions or if you're interested in purchasing control wires, feel free to reach out to us. We're here to help you find the right solution for your needs.
References
- Electrical Wiring Handbook
- National Electrical Code