Hey there! If you're like me, you've probably got a garage that could use some better lighting or maybe you want to add some power tools. One of the first steps in making that happen is installing household insulated wire. I'm a supplier of Household Insulated Wire, so I've got some hands - on experience and tips to share with you.
Why Insulated Wire?
First off, let's talk about why insulated wire is a must - have for your garage. Insulation acts as a protective layer around the conductive core of the wire. It keeps the electricity flowing where it's supposed to go and prevents short - circuits, which can be super dangerous. There are different types of insulation materials out there, but one popular choice is Copper Core Polyethylene Insulated Cable. Polyethylene is great because it's durable, flexible, and offers good electrical insulation properties.
Planning Your Installation
Before you start tearing into your garage walls, you need to do some planning. Take a look at what you want to power in your garage. Are you just adding a couple of lights, or do you plan to run heavy - duty power tools like a table saw or a compressor? This will help you determine how much power you need and what size of wire to use.
For small - scale projects like adding a couple of LED lights, a 14 - gauge wire might be sufficient. But if you're going to be using high - wattage tools, you'll probably need a 12 - gauge or even 10 - gauge wire. Make sure to check the electrical code in your area, as there are regulations about wire size and installation methods.
Gathering Your Tools and Materials
Once you've got your plan in place, it's time to gather your tools and materials. Here's a list of what you'll need:
- Wire: Of course, you'll need Household Insulated Wire. Make sure to get the right size and type for your project.
- Wire Strippers: These are used to remove the insulation from the ends of the wire so you can make connections.
- Screwdrivers: Both flat - head and Phillips - head screwdrivers will come in handy for installing electrical boxes and making connections.
- Electrical Tape: This is used to insulate the connections and prevent any exposed wires.
- Fish Tape or Wire Puller: If you're running wire through walls or conduit, a fish tape or wire puller will help you get the wire in place.
- Electrical Boxes: These are used to house switches, outlets, and junction points.
- Junction Boxes: For making connections between wires in the middle of a run.
Shutting Off the Power
Safety first! Before you start any electrical work, you need to shut off the power to the area where you'll be working. Locate your main electrical panel and find the breaker that controls the power to your garage. Flip the breaker to the "off" position, and then use a voltage tester to make sure the power is really off. You don't want to get a nasty shock while you're working.
Running the Wire
Now comes the fun part - running the wire. If you're running wire through the walls, you'll need to drill holes in the studs at the appropriate locations. Make sure the holes are big enough for the wire to pass through easily, but not so big that the wire will flop around.
Start at the electrical panel and work your way out to the outlets, switches, or lights. Use a fish tape or wire puller to guide the wire through the holes in the studs. If you're running wire through conduit, make sure to secure the conduit to the wall or ceiling using straps.
As you run the wire, leave some extra length at each end so you have enough to make connections. It's better to have too much wire than not enough.
Making Connections
Once the wire is in place, it's time to make the connections. First, use your wire strippers to remove about 3/4 inch of insulation from the ends of the wire. Then, connect the wire to the appropriate terminals in the electrical boxes or junction boxes.
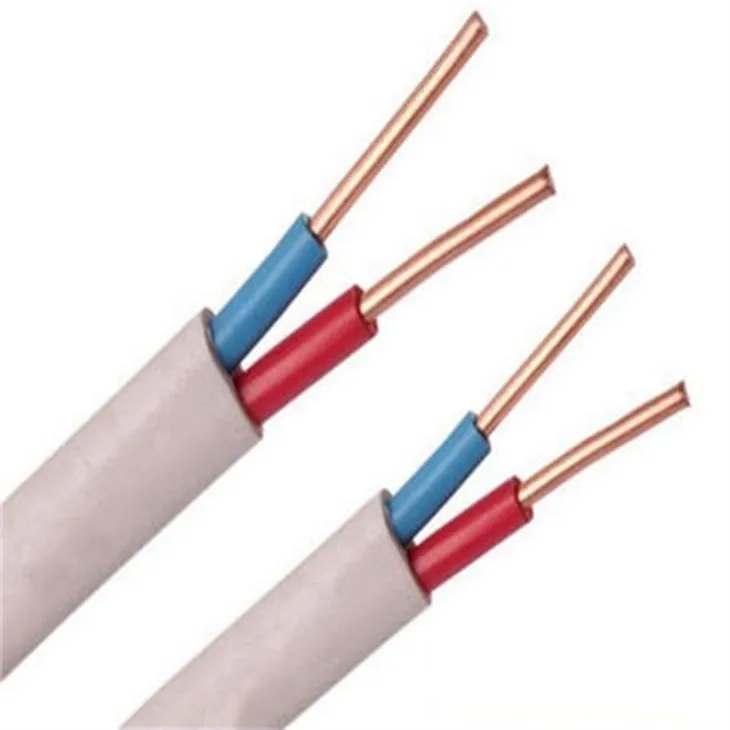

For outlets and switches, make sure to connect the hot wire (usually black or red) to the brass terminals, the neutral wire (usually white) to the silver terminals, and the ground wire (usually green or bare copper) to the green terminal. Use a screwdriver to tighten the screws on the terminals, making sure the wire is firmly attached.
After making the connections, wrap the connections with electrical tape to insulate them and prevent any exposed wires.
Testing the Installation
Once you've made all the connections, it's time to test the installation. Turn the power back on at the main electrical panel and use a voltage tester to check for power at the outlets and switches. If everything is working properly, you should have power at all the locations you installed.
If you don't have power, double - check your connections and make sure the breakers are in the "on" position. If you still can't get power, it might be a good idea to call in a professional electrician.
Final Thoughts
Installing household insulated wire in your garage can be a rewarding DIY project, but it's important to take your time and follow the safety guidelines. If you're not comfortable doing the work yourself, don't hesitate to hire a professional.
As a Household Insulated Wire supplier, I can offer you high - quality wire at competitive prices. If you're interested in purchasing wire for your next project, feel free to reach out to me. We can discuss your specific needs and I'll help you find the right product for you.
References
- National Electrical Code (NEC)
- Electrical Wiring Installation Manuals
- Manufacturer's Instructions for Electrical Components