Installing PVC lighting control cables in a cable raceway is a crucial task that requires careful planning, precision, and adherence to safety standards. As a PVC Lighting Control Cable supplier, I understand the importance of providing accurate guidance on this process to ensure a successful installation. In this blog post, I will walk you through the step-by-step process of installing PVC lighting control cables in a cable raceway.
Step 1: Planning and Preparation
Before you start the installation process, it is essential to plan and prepare thoroughly. This includes assessing the installation site, determining the cable length and quantity required, and ensuring that you have all the necessary tools and materials.
- Assess the Installation Site: Start by inspecting the area where the cable raceway will be installed. Look for any obstacles, such as walls, pipes, or electrical fixtures, that may affect the installation process. Measure the distance between the lighting fixtures and the control panel to determine the length of cable required.
- Determine Cable Length and Quantity: Based on your measurements, calculate the total length of PVC lighting control cable needed for the installation. It is recommended to add a few extra feet to account for any bends, turns, or connections. Determine the number of cables required based on the number of lighting fixtures and the control system design.
- Gather Tools and Materials: Collect all the tools and materials needed for the installation, including cable raceway, PVC lighting control cable, cable ties, wire strippers, electrical tape, screwdrivers, and a drill. Ensure that the cable raceway is the appropriate size and type for the cables and the installation environment.
Step 2: Install the Cable Raceway
Once you have completed the planning and preparation phase, you can begin installing the cable raceway. The cable raceway provides a protective enclosure for the cables and helps to organize and route them safely.
- Mark the Installation Route: Use a pencil or marker to mark the route where the cable raceway will be installed. Follow the path of least resistance and avoid sharp bends or turns. Ensure that the raceway is installed at a suitable height and location to prevent damage or interference.
- Drill Mounting Holes: If the cable raceway requires mounting, use a drill to create holes in the wall or ceiling at the marked locations. Make sure the holes are the appropriate size for the mounting screws or brackets.
- Install the Cable Raceway: Attach the cable raceway to the wall or ceiling using the mounting screws or brackets. Ensure that the raceway is level and secure. Connect the sections of the raceway using the provided connectors or joints.
Step 3: Pull the PVC Lighting Control Cables
After the cable raceway is installed, you can start pulling the PVC lighting control cables through the raceway. This requires careful handling to avoid damaging the cables and ensuring proper routing.
- Prepare the Cables: Cut the PVC lighting control cables to the appropriate length using a wire cutter. Strip the insulation from the ends of the cables using a wire stripper to expose the conductor wires. Leave enough length for making connections at the lighting fixtures and the control panel.
- Lubricate the Cables: To make it easier to pull the cables through the raceway, apply a cable lubricant to the cables. This reduces friction and helps to prevent damage to the cables during the pulling process.
- Pull the Cables: Start at one end of the raceway and carefully pull the cables through the raceway using a cable pulling tool or a fish tape. Ensure that the cables are not twisted or kinked during the pulling process. Work slowly and steadily to avoid putting too much tension on the cables.
Step 4: Make Connections
Once the cables are pulled through the raceway, you can start making connections at the lighting fixtures and the control panel. This is a critical step that requires proper electrical wiring techniques to ensure a safe and reliable connection.
- Connect the Cables to the Lighting Fixtures: At each lighting fixture, strip the insulation from the ends of the cables and connect them to the appropriate terminals on the fixture. Use wire nuts or terminal blocks to secure the connections. Make sure the connections are tight and free of any loose wires or exposed conductors.
- Connect the Cables to the Control Panel: At the control panel, strip the insulation from the ends of the cables and connect them to the appropriate terminals on the panel. Follow the electrical wiring diagram provided by the control system manufacturer to ensure proper wiring. Use wire nuts or terminal blocks to secure the connections and label them for easy identification.
Step 5: Test the Installation
After all the connections are made, it is important to test the installation to ensure that the PVC lighting control cables are working properly. This includes checking for continuity, voltage, and proper operation of the lighting fixtures.
- Check for Continuity: Use a multimeter to check for continuity in the cables. This verifies that there are no breaks or open circuits in the cables. Test each conductor wire separately to ensure that they are all functioning properly.
- Check for Voltage: Use a voltage tester to check for the presence of voltage at the lighting fixtures and the control panel. This ensures that the electrical power is being supplied correctly and that there are no electrical hazards.
- Test the Lighting Fixtures: Turn on the power to the lighting system and test each lighting fixture to ensure that it is functioning properly. Check for any flickering, dimming, or other issues with the lighting. Make any necessary adjustments or repairs to the connections or the control system.
Step 6: Secure and Protect the Cables
Once the installation is tested and verified, it is important to secure and protect the PVC lighting control cables to prevent damage and ensure long-term reliability.
- Secure the Cables: Use cable ties or clips to secure the cables inside the cable raceway. This helps to prevent the cables from moving or shifting during normal use and reduces the risk of damage.
- Seal the Raceway: Use a sealant or caulk to seal the joints and openings in the cable raceway. This helps to prevent dust, dirt, and moisture from entering the raceway and damaging the cables.
- Label the Cables: Label the cables at both ends to identify their purpose and destination. This makes it easier to troubleshoot and maintain the lighting control system in the future.
Conclusion
Installing PVC lighting control cables in a cable raceway is a complex process that requires careful planning, precision, and adherence to safety standards. By following the steps outlined in this blog post, you can ensure a successful installation that provides a safe and reliable lighting control system.

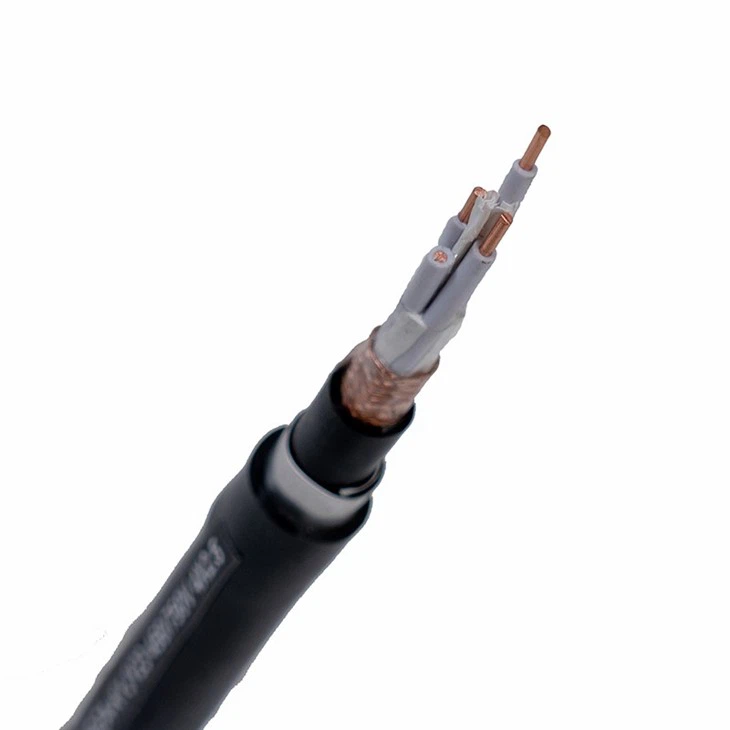
If you are in need of high-quality PVC lighting control cables for your next project, look no further. As a leading 4 Core Cy Cable and Control Panel Wire supplier, we offer a wide range of products that meet the highest industry standards. Our PVC Lighting Control Cable is designed for durability, flexibility, and easy installation.
Contact us today to discuss your specific requirements and explore how our products can meet your needs. Our team of experts is ready to assist you with your purchase and provide you with the support and guidance you need to ensure a successful installation.
References
- National Electrical Code (NEC), NFPA 70
- Electrical Wiring: Residential, 19th Edition, by Rex Montoya
- Lighting Controls Association (LCA) Guidelines for Lighting Control Installations