Hey there! I'm a supplier of household wires, and I've seen firsthand how important it is to properly insulate wire joints in your home. Whether you're a DIY enthusiast or just looking to understand the basics, this blog post will guide you through the process of insulating household wire joints.
Why Insulating Wire Joints Matters
First off, let's talk about why insulating wire joints is such a big deal. Electrical safety is no joke, and exposed wire joints can lead to a whole host of problems. For starters, they increase the risk of electrical shocks. If someone accidentally touches an exposed joint, it could be extremely dangerous.
Secondly, exposed joints are more likely to short - circuit. A short - circuit can cause a sudden surge of electricity, which might damage your electrical appliances or even start a fire. By insulating the joints, you create a barrier that prevents these issues from happening.
Tools and Materials You'll Need
Before you start insulating your wire joints, you'll need to gather a few tools and materials. Here's a list of what you'll typically need:
- Insulating tape: This is the most common and easiest way to insulate wire joints. There are different types available, like vinyl tape, which is affordable and easy to work with.
- Heat - shrink tubing: This is a more professional option. When heated, it shrinks tightly around the wire joint, providing a secure and long - lasting insulation. You'll need a heat gun to use this.
- Wire connectors: These are small plastic or metal devices that hold the wires together and provide some insulation. They come in different sizes and types, such as twist - on connectors.
Step - by - Step Guide to Insulating Wire Joints
Step 1: Prepare the Wires
The first thing you need to do is make sure the wires are clean and free of any dirt or debris. Use a wire stripper to remove about half an inch to an inch of the insulation from the ends of the wires you want to connect. Be careful not to nick the wire strands while stripping.
Step 2: Connect the Wires
There are a few ways to connect the wires. One common method is to twist the bare ends of the wires together tightly. Make sure the twist is smooth and there are no loose strands. Another option is to use wire connectors. Simply insert the stripped ends of the wires into the connector and twist it until it's secure.
Step 3: Insulate with Tape
If you're using insulating tape, start by wrapping it around the joint in a tight, overlapping manner. Begin a little bit before the joint and continue wrapping past it. Make sure there are no gaps in the tape, as this could expose the wire. Wrap at least two or three layers of tape for good insulation.
Step 4: Using Heat - Shrink Tubing
If you've chosen heat - shrink tubing, cut a piece that's long enough to cover the joint with a little extra on each end. Slide the tubing over one of the wires before you make the connection. Once the wires are connected, position the tubing over the joint. Then, use a heat gun to heat the tubing evenly. As it heats up, it will shrink and form a tight seal around the joint.
Different Types of Household Wires and Their Insulation Requirements
As a household wire supplier, I know that there are various types of wires, each with its own insulation needs.
- 3 Core Household Wire: This type of wire is commonly used in homes for applications like lighting circuits. When insulating the joints of 3 core household wire, you need to be extra careful to insulate each core separately and then insulate the whole joint.
- Copper Core Polyethylene Insulated Cable: These cables are known for their good electrical properties. The insulation on these cables is usually quite durable, but when making joints, you still need to ensure proper insulation to maintain the cable's performance.
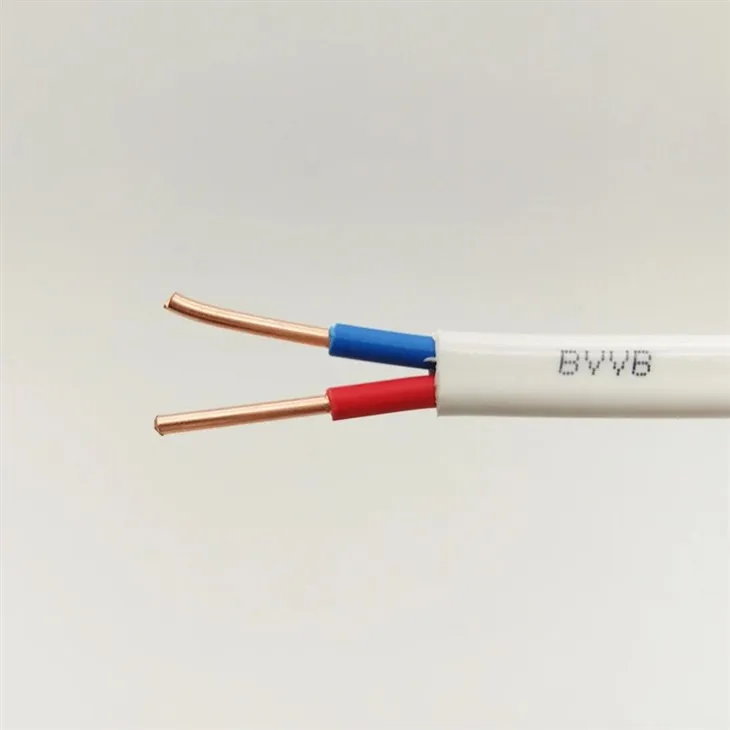
- Household Insulated Wire: This is a general term for wires used in household electrical systems. The insulation process for these wires is similar to the steps mentioned above, but you need to choose the right insulation materials based on the wire's size and application.
Tips for a Successful Insulation
- Check the quality of materials: Always use high - quality insulating materials. Cheap or low - quality tape or tubing may not provide adequate insulation and could fail over time.
- Follow safety precautions: Before working on any electrical wires, make sure to turn off the power at the circuit breaker. This will prevent the risk of electrical shock.
- Inspect the joints regularly: Even after insulating the joints, it's a good idea to check them periodically for any signs of wear or damage. If you notice any issues, re - insulate the joints as soon as possible.
Conclusion
Insulating household wire joints is an important part of maintaining a safe and functional electrical system in your home. By following the steps and tips outlined in this blog post, you can ensure that your wire joints are properly insulated and protected.
If you're in the market for high - quality household wires or need more information on insulation materials, don't hesitate to reach out. We're here to help you with all your electrical wire needs. Whether you're a contractor working on a big project or a homeowner doing some DIY work, we've got the right products for you. Let's start a conversation about your requirements and find the best solutions together.

References
- National Electrical Code (NEC)
- Electrical Safety Foundation International (ESFI) resources