Splicing 3 core household wire is a fundamental skill for many electrical projects, whether you're a DIY enthusiast or a professional electrician. As a trusted supplier of 3 Core Household Wire, I've seen firsthand the importance of proper splicing techniques. In this blog post, I'll guide you through the process of splicing 3 core household wire, from understanding the basics to executing a safe and reliable splice.
Understanding 3 Core Household Wire
Before you start splicing, it's essential to understand what 3 core household wire is and its applications. A 3 core household wire typically consists of three insulated conductors: a live (hot) wire, a neutral wire, and an earth (ground) wire. These wires are color-coded to distinguish between them, with the live wire usually being brown, the neutral wire blue, and the earth wire green/yellow.
3 Core Household Wire is commonly used in a variety of household electrical installations, including lighting circuits, power outlets, and appliances. It provides a safe and efficient way to distribute electrical power throughout your home.
Tools and Materials You'll Need
To splice 3 core household wire, you'll need the following tools and materials:
- Wire strippers: Used to remove the insulation from the wire.
- Electrical tape: Provides insulation and protection for the spliced wires.
- Wire nuts: Used to secure the spliced wires together.
- Soldering iron and solder (optional): For a more permanent and reliable splice.
- Multimeter: To test the continuity and voltage of the spliced wires.
- Safety glasses and gloves: To protect yourself from electrical shock and other hazards.
Step-by-Step Guide to Splicing 3 Core Household Wire
Step 1: Turn Off the Power
Before you start working on any electrical wiring, it's crucial to turn off the power at the circuit breaker or fuse box. This will prevent you from getting electrocuted and ensure your safety.

Step 2: Prepare the Wires
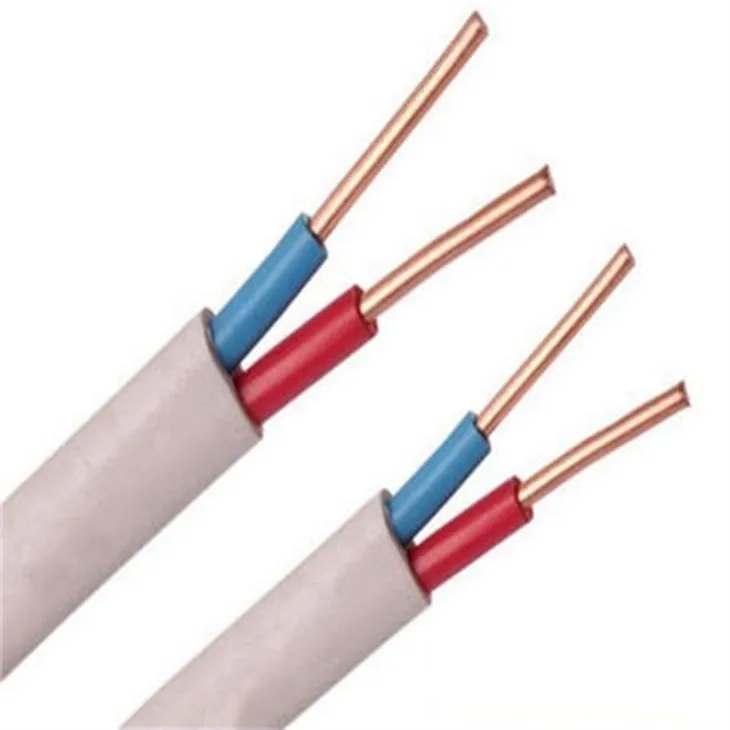
Using wire strippers, carefully remove about 1/2 inch (1.27 cm) of insulation from the end of each wire. Be careful not to nick or damage the wire strands. If the wires are frayed or damaged, trim them back to expose fresh, undamaged wire.
Step 3: Match the Wires
Match the corresponding wires together: the live wires, the neutral wires, and the earth wires. It's important to ensure that the correct wires are connected to each other to avoid short circuits and other electrical problems.
Step 4: Twist the Wires Together
Once you've matched the wires, twist the ends of the corresponding wires together tightly. Make sure the twists are tight and secure to ensure a good electrical connection.
Step 5: Secure the Splice
There are several ways to secure the spliced wires together. One common method is to use wire nuts. Simply place a wire nut over the twisted wires and tighten it clockwise until it's snug. Make sure the wire nut covers the entire exposed wire and provides a good seal.
Another option is to solder the wires together. This method provides a more permanent and reliable connection, but it requires some skill and experience. To solder the wires, heat the twisted wires with a soldering iron and apply a small amount of solder to the joint. Make sure the solder flows evenly and covers the entire joint.
Step 6: Insulate the Splice
Once the splice is secure, insulate it with electrical tape. Wrap the tape tightly around the splice, starting from the base of the wire nut or solder joint and working your way up to the insulation of the wire. Make sure the tape covers the entire exposed wire and provides a good seal.

Step 7: Test the Splice
After you've insulated the splice, use a multimeter to test the continuity and voltage of the spliced wires. This will ensure that the splice is working properly and that there are no electrical problems.
Step 8: Turn On the Power
Once you've tested the splice and confirmed that it's working properly, turn on the power at the circuit breaker or fuse box. Check the electrical device or appliance that's connected to the spliced wires to make sure it's working correctly.
Tips for Splicing 3 Core Household Wire
- Use the right tools: Using the right tools for the job will make the splicing process easier and more efficient. Make sure you have a good pair of wire strippers, electrical tape, wire nuts, and a multimeter.
- Follow the color code: The color code of the wires is important for ensuring a safe and correct splice. Make sure you match the corresponding wires together based on their color.
- Keep the wires clean: Before you splice the wires, make sure they're clean and free of dirt, grease, and other contaminants. This will ensure a good electrical connection.
- Make sure the splice is tight: A loose splice can cause electrical problems, such as overheating and short circuits. Make sure the wires are twisted together tightly and that the wire nut or solder joint is secure.
- Insulate the splice properly: Insulating the splice is important for preventing electrical shock and other hazards. Make sure you use high-quality electrical tape and that the tape covers the entire exposed wire.
Conclusion
Splicing 3 core household wire is a relatively simple process that can be done by anyone with basic electrical knowledge and skills. By following the steps outlined in this blog post and using the right tools and materials, you can splice 3 core household wire safely and effectively.

As a supplier of 3 Core Household Wire, Copper Core Polyethylene Insulated Cable, and Household Insulated Wire, I'm committed to providing high-quality products and excellent customer service. If you have any questions or need further assistance with splicing 3 core household wire or any other electrical wiring project, please don't hesitate to contact me. I'm here to help you every step of the way.
References
- Electrical Wiring Installation Guide, National Electrical Code
- Handbook of Electrical Engineering, McGraw-Hill Education